Using Visual Schedules for High School
Special Ed Classrooms
Have you ever had a student ask, “What are we doing next?” over and over again? Or maybe you’ve seen anxiety spike during transitions, even when nothing major has changed.
These moments are so common in high school SPED classrooms, and they can make the day feel harder than it needs to be. One simple tool can make a big difference: visual schedules.
A lot of people think visual schedules are just for younger kids, but they’re actually just as helpful, if not more so, for teens and young adults in special education. They help students understand their day, feel safe, and become more independent.
If you’re not using them yet, this post will show you how to get started—and why you should!
What Are Visual Schedules?
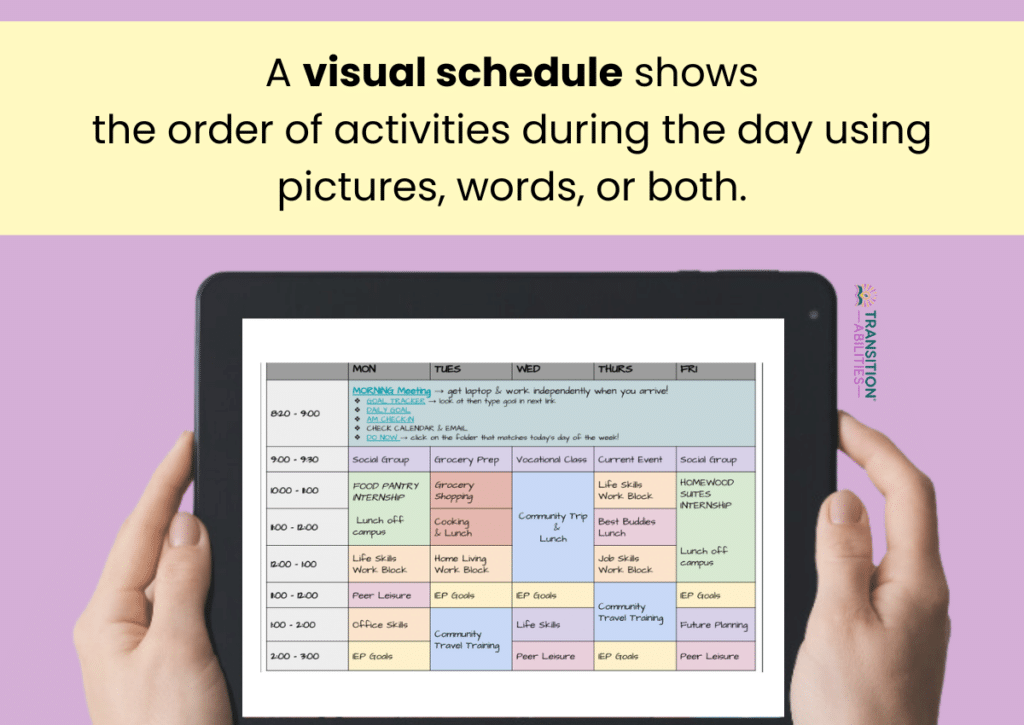
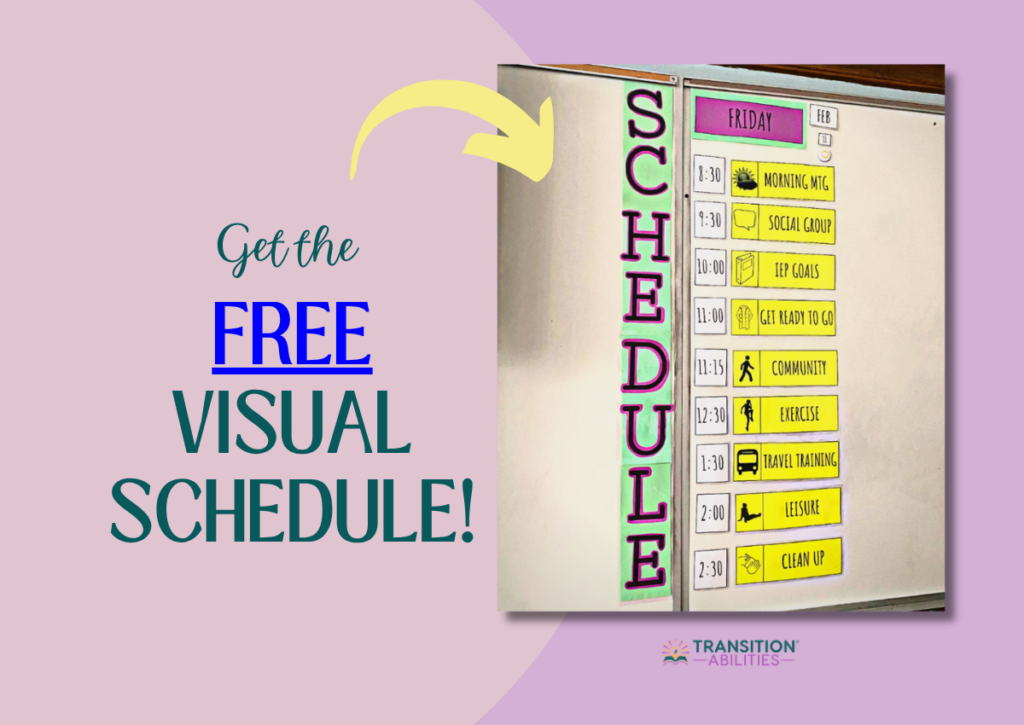
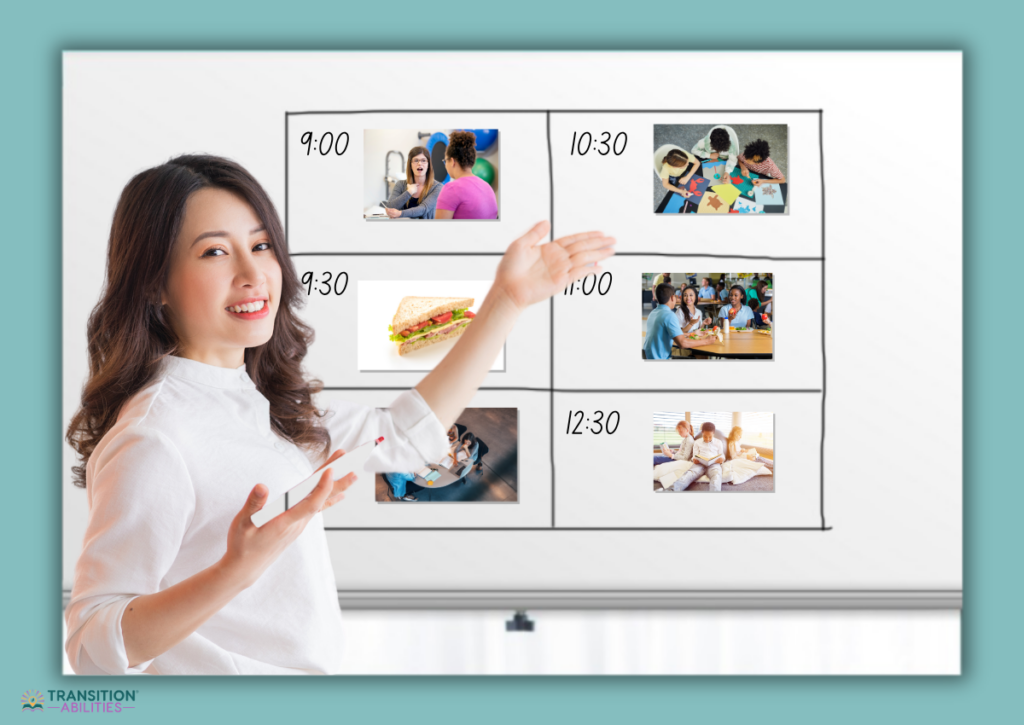
First, let’s clarify what a visual schedule is. A visual schedule shows the order of activities during the day using pictures, words, or both. It can be for the whole class or just for one student, and it might show the full day, or only one part of the day at a time.
For example, a student’s schedule might say:
👥 | Morning Meeting |
📚 | Reading |
👷 | Job Skills |
🍴 | Lunch |
💬 | Social Skills |
Each part can have a picture and a word, so the students can understand and follow along easily.
Types of Visual Schedules
There are many different types of visual schedules you can use in a high school SPED classroom. You can pick one or mix a few, whichever works best for your students’ needs and your classroom setup.
1. Object Schedule
These schedules are made with real objects to help students, especially those with visual impairments, understand what’s coming next.
For example, you might use a real fork to represent lunch or a book to symbolize reading time. These objects can be glued onto a board in an accessible place. Make sure to add a label so everyone knows what each object stands for.
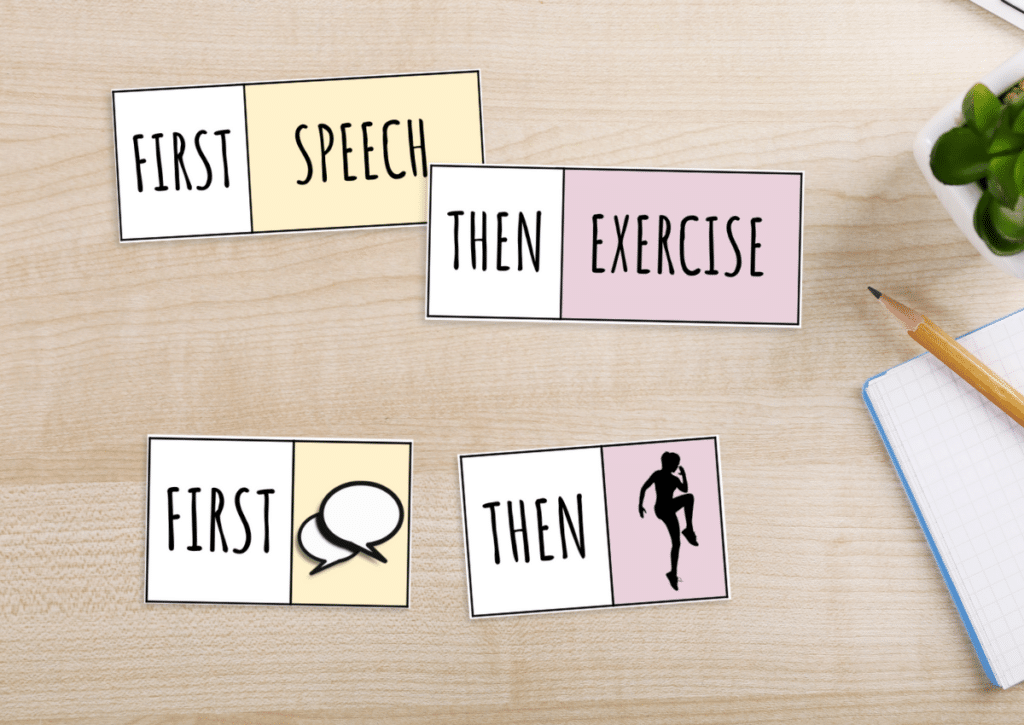
2. First/Then Board
Another simple kind is the first/then board. It shows what’s happening now and what comes next. This visual schedule is great for students who are just learning how to follow a schedule.
You can use it on its own or as part of a bigger schedule.
3. Picture Schedule
One of the most common types, a picture schedule uses pictures with words underneath. With this, you can give your classroom structure while also teaching your students to read.
Over time, you can make the pictures smaller and the words bigger until they’re ready for written schedules.
4. Written Schedule
Many high school students can follow a schedule that’s written with words only. You can put it on a whiteboard at the front of the room, and students can erase tasks as they finish them. It helps them feel good to see progress!
5. Real Photo Schedule
Some classrooms use a real photo schedule. Instead of using clip art or icons, you use real pictures of the actual classroom, teacher, or activity area.
These are helpful for students who do better with realistic pictures that they can recognize right away.
6. Binder Schedule
This schedule is helpful for students who go between different classrooms during the day. It keeps their schedule with them and makes it easy to follow their day no matter where they are. It’s simple, private, and easy to use on the go.
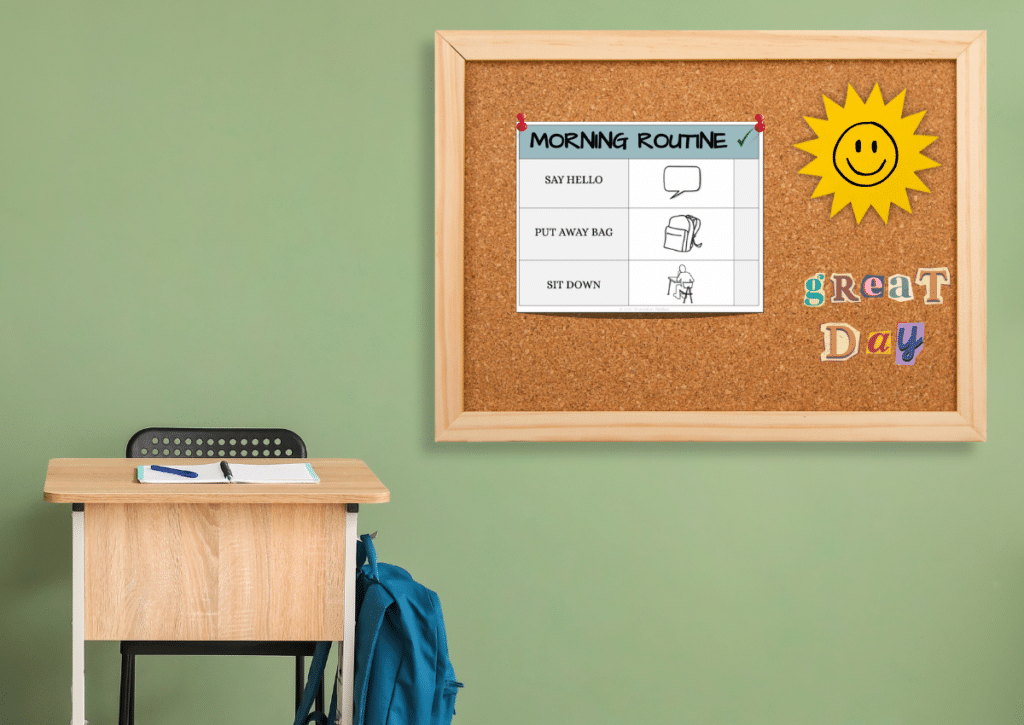
7. Checklist Schedule
You can also use checklist schedules for things like routines. For example, if a student struggles with packing up at the end of the day, a checklist can show them what to do step by step, and they can check things off as they go.
8. Mini Schedule
A mini-schedule shows the steps for just one activity or part of the day, not the whole schedule. It might be a list of steps for completing a worksheet or doing a classroom job.
This type of schedule helps students understand what to expect, how long something will take, and when it will be done. They also cut down on the number of prompts we need to give and encourage more independence.
You can use pictures, words, numbers, or even objects—whatever works best for your student.
9. Mobile Schedule
A more advanced option is a mobile schedule, like one on a student’s phone or tablet. Many of us use our phones to keep track of our day—why not teach students to do the same?
It’s perfect for high school students because it’s age-appropriate and prepares them for real life.
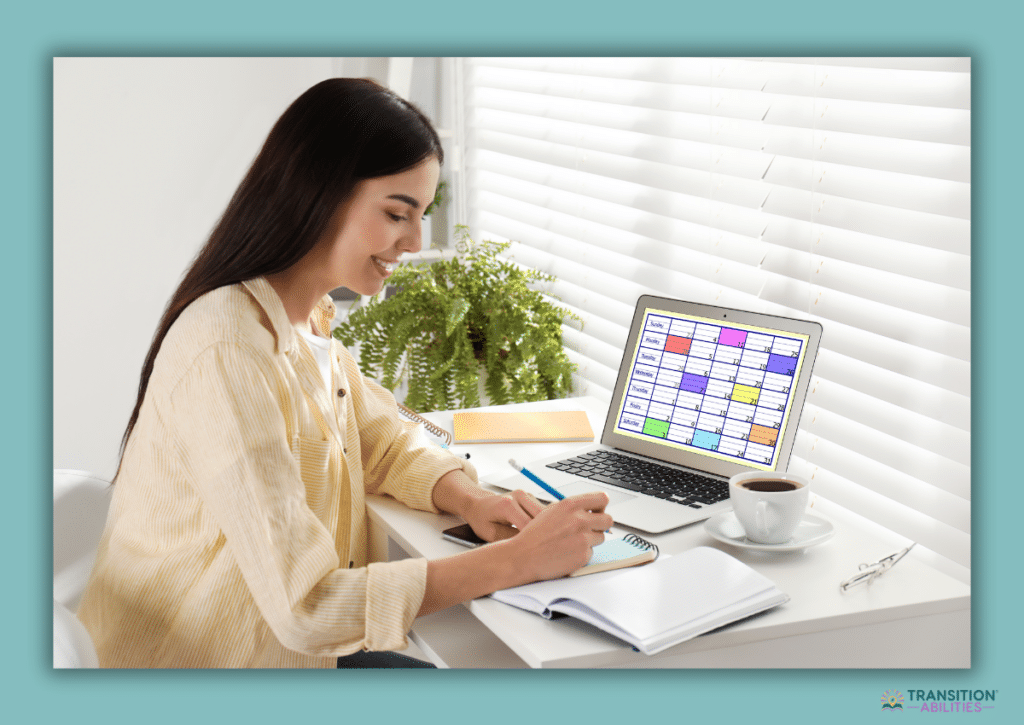
Why Use Visual Schedules?

We all use schedules in our everyday lives—whether it’s our daily planner or checking our calendars for meetings and events. Even things like meal prep plans or workout routines are some forms of visual schedules.
Students are no different. They benefit from having a clear, visual plan for their day, just like we do. Using visual schedules in a high school SPED classroom can really help both students and teachers.
One of the biggest benefits of a visual schedule is that it helps students, especially those on the autism spectrum, feel calm and safe. With a visual schedule showing them what’s happening during the day using pictures, words, or both, the students feel less anxious because they know what to expect.
Visual schedules also encourage students to be more independent. Instead of needing constant reminders from an adult, students can look at the schedule on their own to see what to do next. It not only builds self-confidence but also teaches important skills like managing time and following routines.
Another great thing about visual schedules is that they support students who have trouble with communication. A visual schedule with symbols or images helps everyone know what’s happening—even if they don’t read or speak well.
Overall, visual schedules aren’t just helpful—they’re essential. And honestly, we all benefit from having a clear plan for the day.
How to Create Visual Schedules
Making a visual schedule is easy and can help your classroom run more smoothly. Here’s how to make one:
1. First, make a list of the activities or tasks that will be included in the schedule. This might include things like morning meeting, reading time, lunch, or recess.
2. Next, choose what kind of pictures or words you will use. You can use real photos, drawings, or symbols that are easy to understand and match the activity well.
3. Decide where to put the schedule. You might hang it on the wall, use a pocket chart, put it on a whiteboard, or use it on a tablet or computer. Make sure students can see it and reach it if they need to move pieces.
4. Show your students how to look at the schedule and use it.
5. Regularly update and review the visual schedule to see if it still works with your students.
Like anything else in the classroom, it’s trial and error. And what works for you one year (or even day) may not work the next.
That’s why it’s a good idea to learn how to make your own visuals and schedules!
Implementing Visual Schedules
Visual schedules can be a game-changer in your high school special education classroom. But to make them work well, it’s important to set them up thoughtfully and teach students how to use them.
Let me walk you through the steps to help get you started with visual schedules.
Step 1: Choose the Right Type of Visuals
The first thing to think about is what kind of visuals your student understands best. After all, each student is unique and has different needs. Some students need real objects they can touch and carry. Others do great with photographs, while some are comfortable with simple pictures or drawings. For students who read well, words might be enough.
The key here is to choose a type of visual schedule that makes the most sense to the student. You want to pick something they’ll still understand, even on a tough day, like when there’s a sub or when the routine gets interrupted.
Step 2: Decide How Much to Show at Once
You’ll want to decide how much information to show at one time. For example, a student might do better seeing just one step at a time, so an If/Then schedule would be perfect.
Think about how well the student can follow a sequence and whether seeing too much (or too little) information causes them to feel anxious.
Once you’ve figured that out, you can decide how to arrange the schedule—maybe it goes from left to right, top to bottom, or even across multiple rows if that works better.
Step 3: Teach Students What to Do with the Schedule
After deciding how the schedule looks, you’ll want to plan how the student will actually use it. For example, if their schedule has a picture of the library, they carry it to the library and match it to a card or bin there.
Other students might stay in one place and mark things off their schedule when they finish. Using the schedule this way helps students remember what’s next without always needing an adult to remind them, and it gives them a little success boost each time they complete a task.
Step 4: Show Them When to Check It
The last step is teaching students when to check their schedule.
In the beginning, you’ll probably give them a signal, like showing them a name card or a favorite image that means “Check your schedule now.” They take that cue to the schedule area, match it to a pocket or spot, and then check what’s next.
Doing it this way helps them learn when it’s time to move without needing you to say it every time. Over time, they’ll get the hang of it and start checking their schedule on their own.
Give Visual Schedules a Try—for Free!
If you haven’t used visual schedules before, now’s the perfect time to start. I created a free visual schedule resource just for high school and transition SPED classrooms. It’s editable, easy to use, and designed to meet the needs of older students. Try it out and see how much smoother your day can run!