Setting Up a Life Skills Center in a
Self-Contained Classroom
If you’ve ever tried to set up a life skills area in your classroom, you know it’s not that simple. You might be asking, Where do I even start? Do I have enough space? What should I teach?
To be honest, it can feel completely overwhelming, especially when every student, classroom, and schedule looks a little different. What worked last year might not work this year, because your students’ needs have changed. And that’s okay!
But even if it feels tricky to pull together, building a strong life skills center is worth it. This area of your classroom can become a space where students learn real-world skills, practice independence, and build confidence.
If you aren’t already doing life skills in your classroom, now is the perfect time to start.
Let’s break down how to set up a life skills center that really works for your classroom!
Why Set Up a Life Skills Center?
Life skills are the everyday tasks that people need to live independently. This includes things like brushing your teeth, doing laundry, making simple meals, handling money, or following a daily routine.
For some students, these skills come naturally, but for most of our students with disabilities, they need to be taught step by step, with lots of practice.
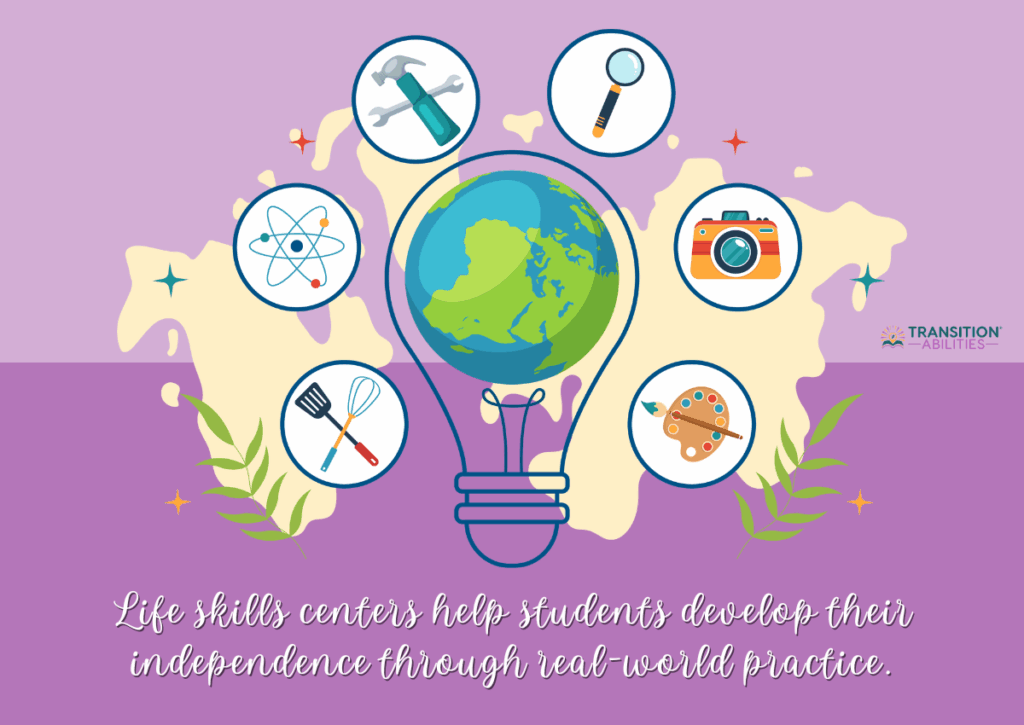
That’s why setting up a life skills center in the classroom is really helpful. A life skills center is a dedicated space (either in the classroom or a separate room) where students can work on functional tasks that help them develop the skills they need for independent living and working
When designed well, a life skills center helps students use what they’ve learned in real-life situations. It also helps them reach their IEP goals and feel more confident doing things on their own.
How to Set Up a Life Skills Center in Your Classroom

Setting up a life skills center takes some planning, but it’s worth it! Once you understand your students’ needs, you can create a space that helps them learn real-world skills in a way that makes sense for them. Here’s how to get started!
Step 1: Get to Know Your Students
The first step is getting to know your students and understanding their IEP goals. What skills do they need help with? What do their IEPs say? What goals are they working on this year?
Every life skills classroom should look a little different depending on who’s in it, because everything from the furniture to the activities should be based on the individual needs of your students.
One helpful tool is a Teaching Implementation Plan (TIP). A TIP is a simple planning sheet where you break down each student’s IEP goals. You’ll write what skill you’re teaching, where and when you’ll teach it, and how you’ll collect data. For example, if a student has a goal to practice using money, you might plan to teach it during your classroom store activity and take data once a week.
This plan helps you choose the right activities, set up your schedule, and decide what materials you’ll need.
And remember that your life skills center might look different every year. That’s not a bad thing. It means you’re adjusting to meet your students where they are.
Step 2: Build Your Daily Schedule
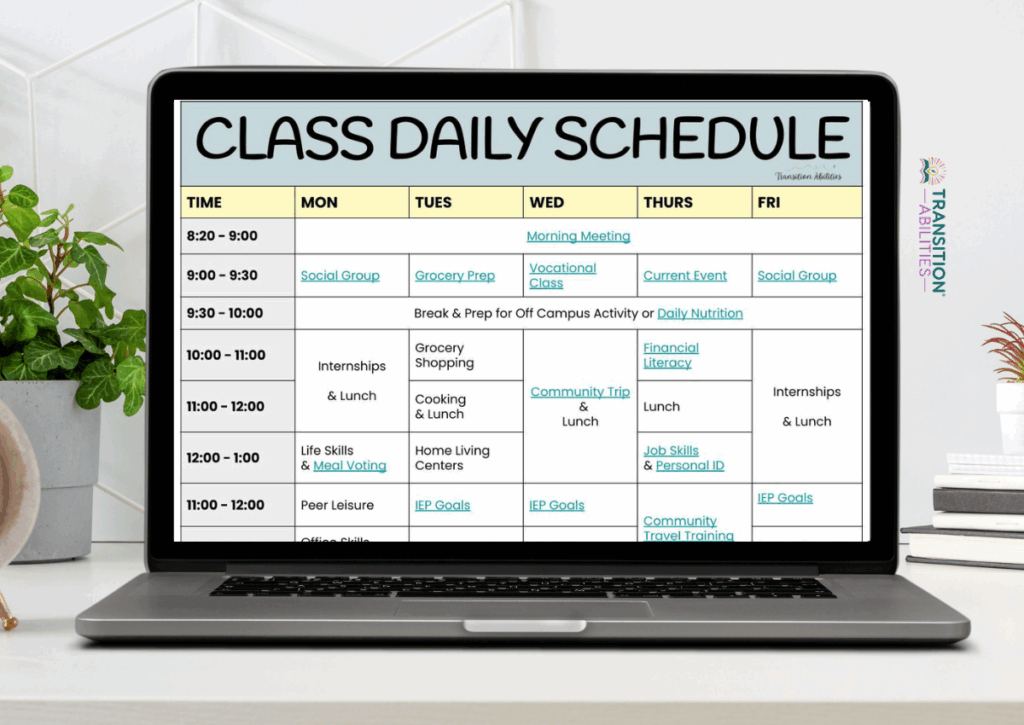
Once you know your students’ goals, you can start planning your classroom schedule. Think about when students will visit the life skills center, and for how long.
The first thing you might think of is how many staff there are and the physical space, but it’s always better if you base the duration of activities (or the type) on the students’ needs.
Step 3: Choose the Life Skills You’ll Teach
Next, decide what life skills to teach.
Just remember, you don’t need to teach every single life skill in your center. In fact, many life skills can be easily integrated into other parts of your curriculum. But when planning your life skills center, it helps to think about which skills are best practiced through hands-on activities in a dedicated space.
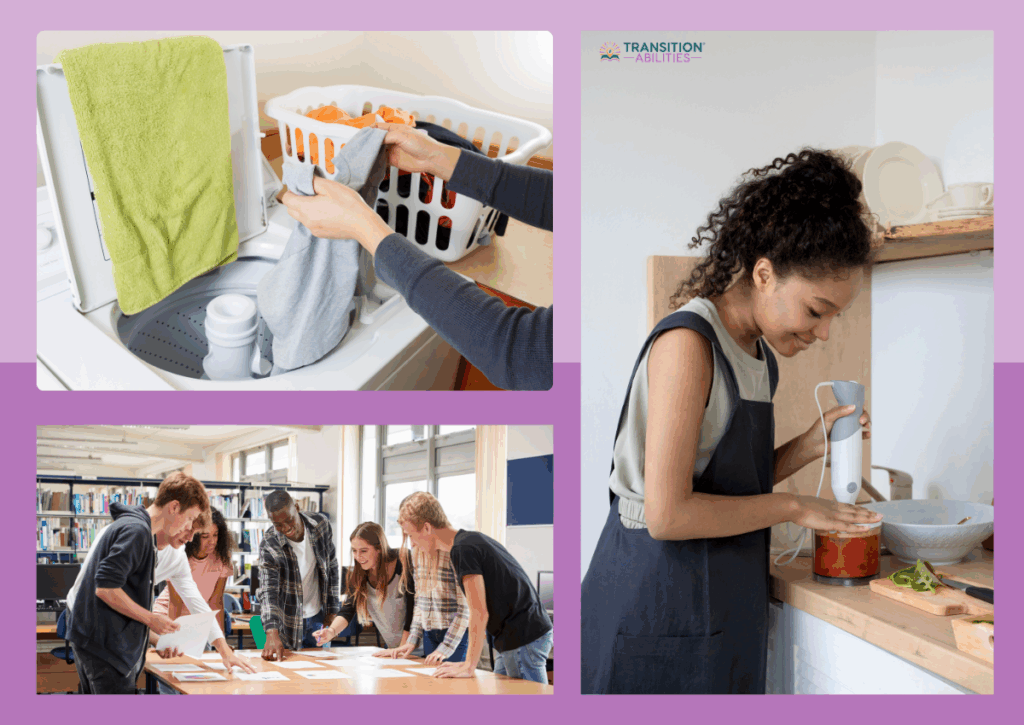
What Kinds of Skills Are a Good Fit for a Life Skills Center?
These include activities like:
- Personal hygiene
- Setting the table
- Cleaning up after meals
- Folding clothes
- Matching socks
- Recycling
- Following simple picture schedules
For high school or transition students:
- Grocery list
- Following simple recipes
- Reading road signs
- Sorting mail
- Setting up a planner or calendar
- Filling out forms
- Money skills
- Community safety
Focus on skills that connect to your students’ IEPs or post-secondary transition plans!
If you want to learn more about which life skills to teach, check out our blog Teaching Life Skills in Special Ed Classrooms!
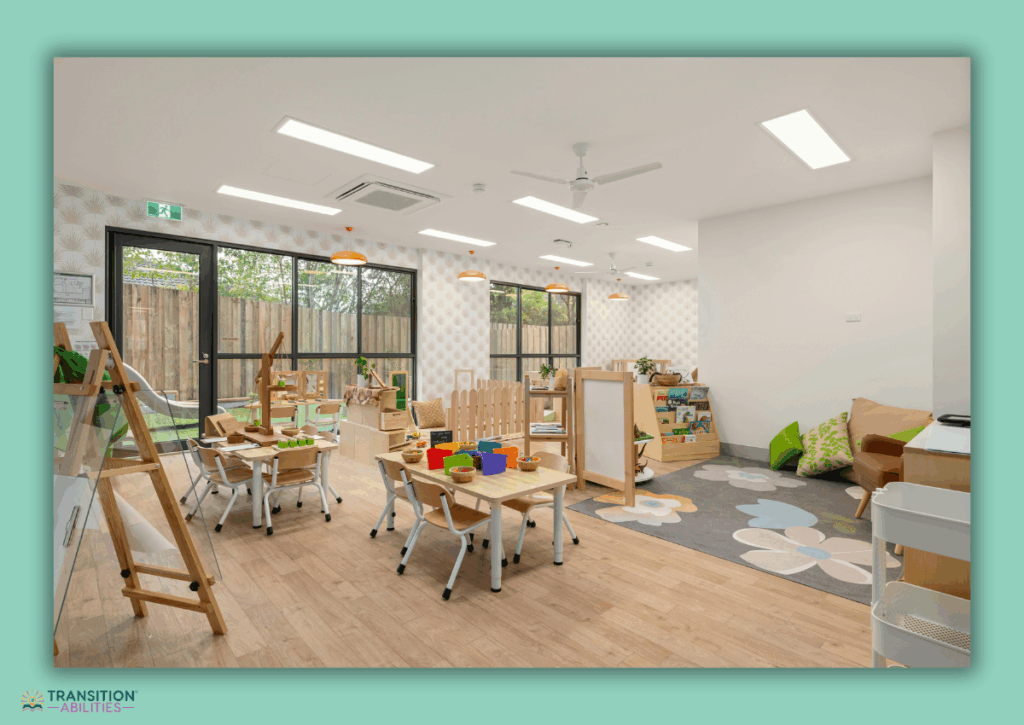
Step 4: Pick a Spot and Plan the Layout

Choose a space in your classroom that can become your life skills center. It doesn’t have to be big, but it should feel clear and separate from the rest of the room, plus easily accessible.
However, if you really are short on space, you can consider using a movable cart, shelf, or even a table with bins and drawers.
After designating the space, you can start making a simple layout. You can use visual dividers or tape on the floor to mark different areas.
Use furniture, shelves, or bins to define work areas and make materials easy to reach.
Some furniture ideas:
- A small sink area for hygiene routines
- A table for pretend or real cooking or folding laundry
- A mini store with shelves and baskets
- An independent work area with task boxes
Think about student flow, movement, and where staff will stand or support.
Step 5: Gather Your Materials
Once you know which skills you’ll be teaching, it’s time to gather the materials that will support your center.
You can focus on a different skill each month, as this will help you prepare materials much easier. Think about the types of life skills you want to focus on. Are you working on cooking? You’ll need basic kitchen tools like measuring cups, mixing bowls, or even a microwave or toaster oven. Want to practice cleaning skills? Stock up on sponges, spray bottles, and laundry items.
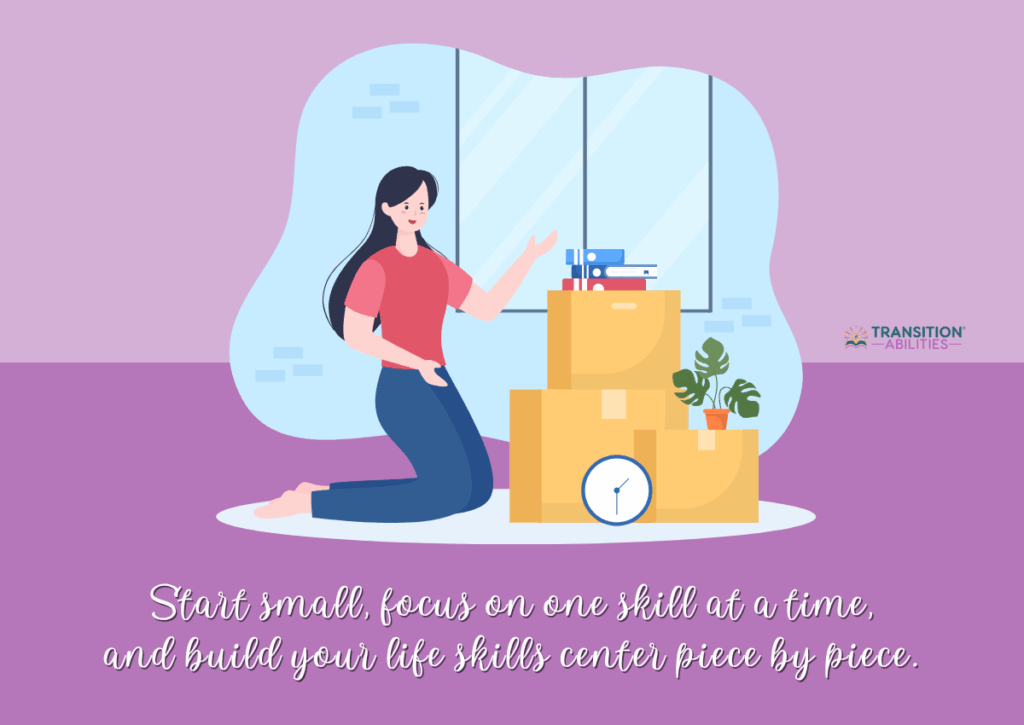
Now, this can feel a bit overwhelming, so I suggest you start small. Just collect the essentials first. You can always add more materials over time.
And remember that you don’t have to buy everything out of pocket! Try asking your school admin for classroom funds, or request donations from students’ families. You can also ask your friends and family! You’d be surprised how many people want to donate.
Step 6: Set Up the Physical Arrangement
Now it’s time to make the space work for your students!
Tips for Arranging the Center:
- Keep materials at student height so they’re easy for students to reach and use.
- Store similar items together, like all the kitchen tools in one bin or all the cleaning supplies on one shelf.
- Try to set up different areas for different tasks, even if you only have one table.
- Use shelves, bins, or dividers to give the space more structure and help students stay organized.
- Label everything with pictures and words so students know where to find and put things away.
Visual supports are also an important part of this setup! Aside from labels, you can also use mini task cards, step-by-step picture schedules, or checklists to help students work more independently.
Step 7: Create a Staff Support Plan
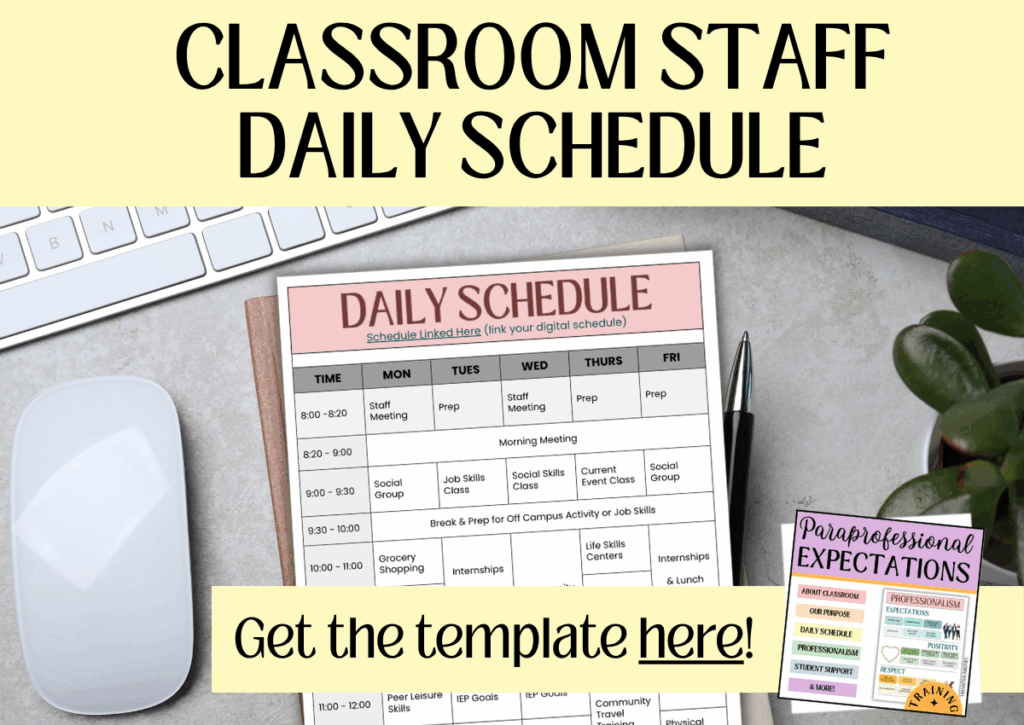
If you have classroom staff, it’s important to plan how they’ll support the center. Who will help students stay on task? Who will collect data?
A staff zoning schedule can make this easier. It tells everyone where to be and what their role is during life skills instruction. That way, everyone’s on the same page and students get the support they need.
Keep It Flexible and Focus on Growth
Your setup doesn’t have to be perfect from Day 1. In fact, it shouldn’t be. Give yourself time to adjust based on how students respond to the environment.
Remember that life skills centers evolve as your class grows and changes. What matters most is that you’re intentional about the space and focused on helping your students gain meaningful life skills!
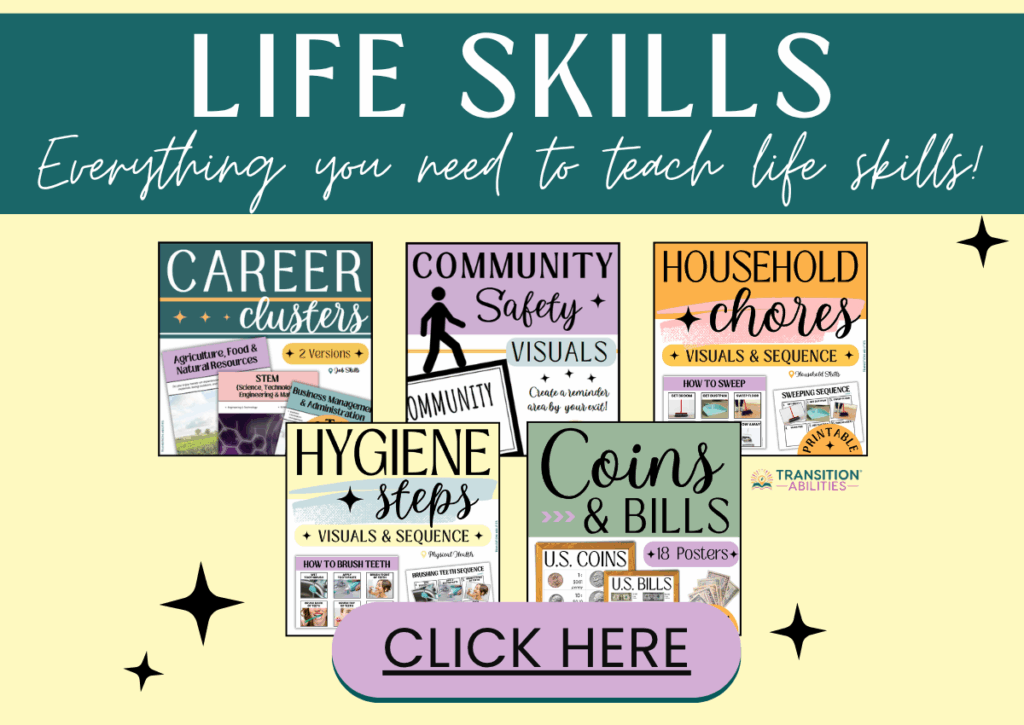
If you’re ready to build or improve your own center, check out my ready-to-use life skills resources here!